Use Photoshop's Healing Brush to Blend colors
Photoshop's Healing Brush tool can be used to blend two colors while doing digital painting. The results can look more aesthetically pleasing than a blend using the Gradient tool. Here's how to use the Healing Brush as a blender.
Create a Pattern
Blending Colors
Create a Pattern
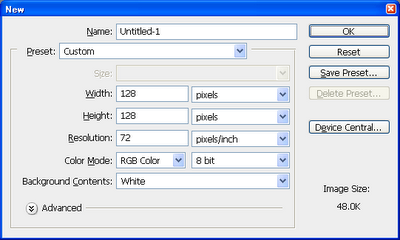
- In Photoshop, select File > New.
The New dialog box appears.
- In the width and height fields, type in 128 pixels and leave the rest as default. Click OK.
The new image is created. - In the Photoshop pulldown menu, select Edit > Define Pattern.
The Pattern Name dialog box appears.
- In the Name field, type in your preferred name, e.g. blender. Click OK.
The pattern is created. - Close the image file without saving.
Blending Colors
- In Photoshop, open up an image file with the colors you want to blend. An example is shown below.

- In the Photoshop tool bar, click on the Healing Brush tool (the icon that looks like a band-aid) or press J on the keyboard.
The Healing Brush tool options appear underneath the pullown menu. - In the tool option's source field, toggle Pattern on. Then choose the pattern you created earlier as shown below.

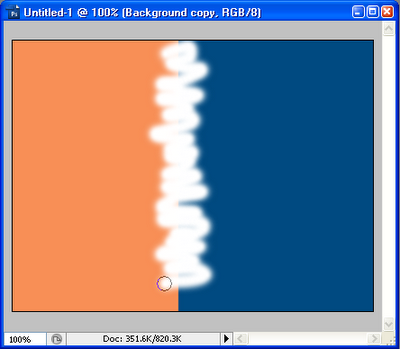
- Now, draw continuous strokes in between the joints of two colors as shown below.

- At the end of the drawing, the image may look like the image below - a nice "artistic" blend between the two colors.


Comments