Using Krita's Colorize Mask Editing Tool to color line art drawings
The usual way to color line art drawings in digital image manipulation software is to use a Color Fill tool to fill an area bounded by line work.
Krita has a useful tool called the Colorize Mask Editing Tool which allows you to simply draw a patch inside the line work with the color you want to fill. Once all the color patches have been drawn, you could preview the color fill and if everything is to your satisfaction, you can just click a button to save the color fill permanently.
The following steps illustrate:
- Start Krita. Open up a line work drawing e.g. christmas_tree.svg.

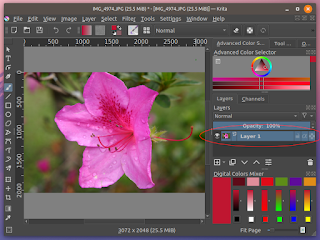
- Then in the main tool bar, click the Colorize Mask Editing Tool, as highlighted in a red circle in the screenshot above. Then click on the drawing.
The line work becomes transparent. A new Colorize Mask layer is created.
- If a brush is not selected, then choose a brush e.g. Basic-1. Adjust the brush size if necessary. Then use the Advanced Color Selector pane to choose the desired color for the fill.

- Inside the line art drawing, draw color patches as shown below.

- Then activate the Tools Option pane and click the Update button to see the changes.
A preview of the color fill is displayed.
- Toggle the option Edit key strokes off to display a preview without the color patches.

- If the color fill is acceptable, then you can make it permanent by converting the Colorize Mask layer into a Paint Layer. If not, redo the previous steps.


Comments