In
Inkscape there is no direct image crop command similar to Photoshop's
Image Crop command. But it is still possible to crop an image in Inkscape indirectly using the
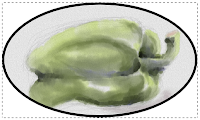
Fill Pattern command. An example of a cropped image is the screenshot on the right. The example below shows how it is done.
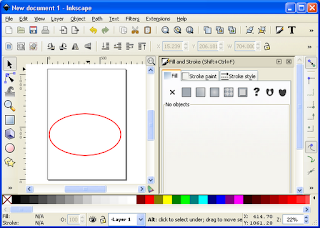
- Start Inkscape. Drag and drop an image file onto the page.
The "image" Input dialog box appears.
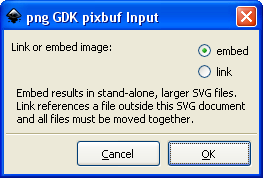
- Click OK.
The image is displayed.
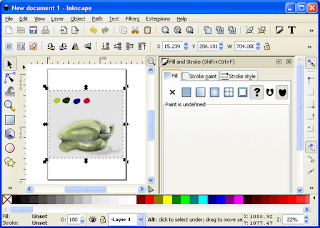
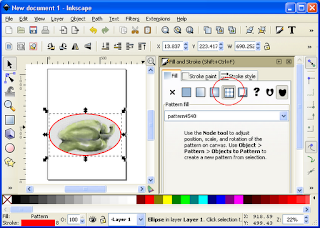
- Use any vector placement commands to draw the cropping boundary e.g. the Create circles, ellipses, arcs (F5) command.
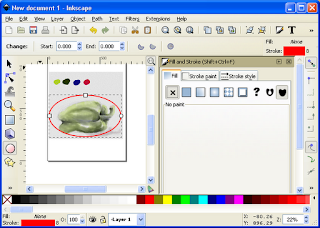
- Press F1 and select the image.
- Select Object | Pattern | Objects to Pattern.
The image pattern is created.
- Delete the image. Select the cropping boundary.
- If the Fill and Stroke pane is not displayed, select Object | Fill and Stroke.
The Fill and Stroke pane is displayed.
- In the Fill tab, click the Pattern icon. If necessary, choose a pattern from the Pattern Fill combo box.
The image is displayed cropped within the boundary.
 In Inkscape there is no direct image crop command similar to Photoshop's Image Crop command. But it is still possible to crop an image in Inkscape indirectly using the Fill Pattern command. An example of a cropped image is the screenshot on the right. The example below shows how it is done.


Comments